Printing (SECURE) documents
If you want to send a job to a printer, but DO NOT want it to print until you get to the printer, you can send your document as a "secure" job.
Each printer does this differently, but here are some steps for some of the printers we use...
FIRST STEP:
From most MS applications (e.g. OneNote, e-mail, Powerpoint, MS-Word, etc),
| |
From MS-Outlook e-mail,
|
SECOND STEP:
Within the printer properties (each printer is slightly different), look for settings that deal with "job storage" or "secure printing"
For the H-P Color Laserjets:
| |
For the Dell S5840cdn Color Printers:
| |
For the Konica BizHub black & white copier/printer:
|
THIRD STEP:
Go to the printer you sent the job to. On the user interface for that printer, look for the menu button and search for "secure print" or similar wording
For the H-P color Laserjet:
| 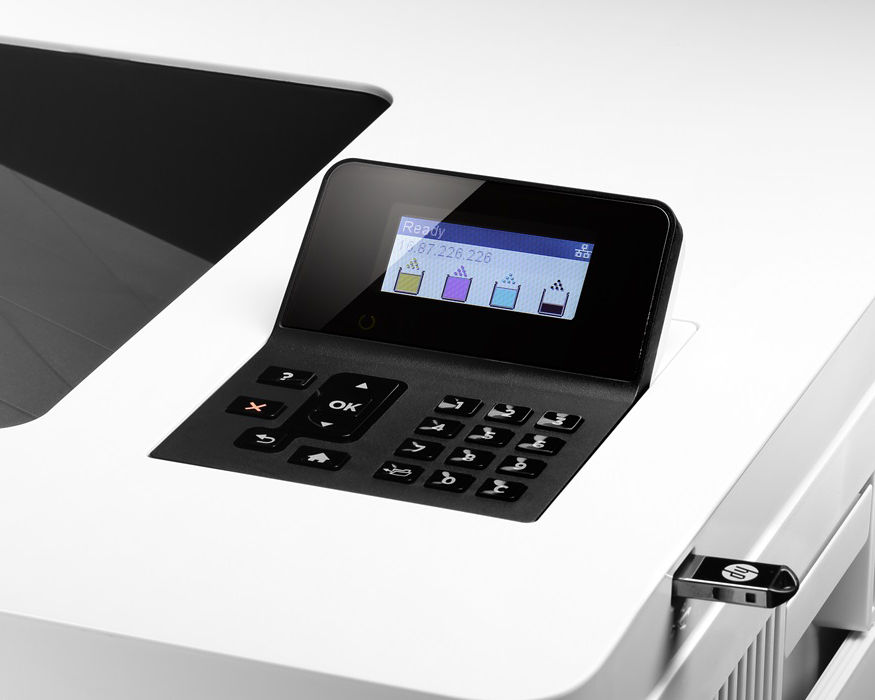 |
References:
Related Articles
Recover a lost Word document
How to recover a lost Word document How Word creates and recovers the Auto-Recover files Resolution To fix this problem, use the following methods in the order in which they're presented, as appropriate for your situation. Method 1: Search for the ...Lenovo System update tutorial - 20MAR20
| Lenovo System updates Hawken Tech 20MAR20 Lenovo System update tutorial 21MAR20 It is recommended to plug your device into a power source, as some update required it. Save all unsaved documents – close applications. In the bottom left search ...Screen capture (still and video)
Still Image Snip: Windows 10 has a built-in tool that allows you to capture an image of an area of the screen. It is called "Snipping Tool" which you can find under the Start menu. Select Start Windows logo Start button, type snipping tool, and ...Getting Your Data Ready for a Loaner with no F2F interaction.
Use this tutorial to ensure your data is available on a loaner computer with a different drive installed. Helpful while conducting a loaner hand-off with minimal F2F interaction. Before Turning in Your Laptop Back up Back up your local files from ...Set up your Hawken sign-in for multi-factor authentication
Tip: Want to know more about multi-factor authentication? See What is: Multifactor authentication. By setting up MFA, you add an extra layer of security to your Microsoft 365 account sign-in. For example, you first enter your password and, when ...